Are you looking to elevate your product photography and create captivating images that will grab the attention of your audience? Look no further! In this article, we will explore the world of DIY props for creative product photography. By utilizing everyday items and implementing unique techniques, you can transform your product images into works of art.
One of the key elements to stunning product photography is lighting. Whether you’re shooting indoors or outdoors, proper lighting can make all the difference in highlighting the details and features of your products.
We will delve into various lighting techniques that you can easily implement using affordable and accessible tools. From natural light to DIY light diffusers, you’ll learn how to create the perfect lighting setup for your product photos.
So, grab your camera and get ready to take your product photography to the next level with these DIY prop ideas!
Lighting Techniques for Stunning Product Photos
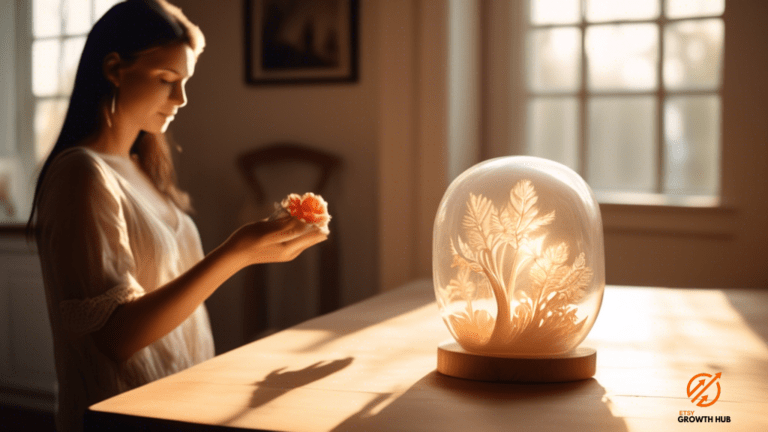
Now that we’ve learned about the importance of lighting in product photography, let’s discover some DIY lighting techniques that will truly illuminate your creative vision.
One simple and effective technique is to use a white foam board as a reflector. Place the foam board opposite to the main light source and it’ll bounce the light back onto the subject, reducing harsh shadows and creating a soft, diffused light. This technique is great for achieving a professional and well-lit look without spending a fortune on expensive lighting equipment.
Another DIY lighting technique that you can try is using a homemade lightbox. A lightbox is a small, enclosed space that diffuses light and provides a clean, even background for your product.
To create your own lightbox, all you need is a cardboard box, some white fabric or tracing paper, and a few desk lamps. Cut out windows on the sides of the box and cover them with the white fabric or tracing paper.
Place the lamps outside the box and position them in a way that the light shines through the windows and evenly illuminates the product inside. This setup allows for a controlled and consistent lighting environment, perfect for capturing every detail of your product.
Background Ideas to Enhance Your Product Shots
To enhance your product shots, try incorporating unique backgrounds that add depth and visual interest to your images. Instead of using a plain white background, consider using textured materials like wood, fabric, or even wallpaper. These backgrounds can help set the mood and create a more engaging visual story for your products.
For example, if you’re photographing handmade jewelry, you could place the pieces on a rustic wooden surface to add a touch of warmth and authenticity. Alternatively, if you’re shooting a vibrant and colorful product, a patterned fabric background can complement and enhance the product’s visual appeal. Experiment with different materials and textures to find the perfect background that enhances the overall aesthetic of your product.
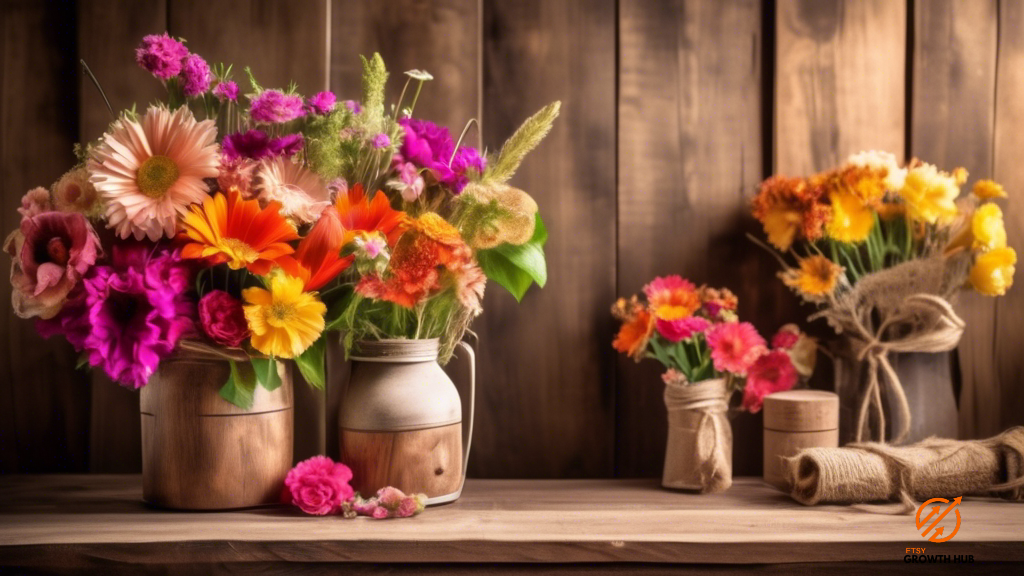
In addition to using textured backgrounds, you can also explore different props and objects to create interesting compositions. For example, you could incorporate natural elements like plants, flowers, or rocks to add a sense of organic beauty to your product shots. These props can help create a more dynamic and visually appealing composition, drawing the viewer’s attention to the product in a unique way.
You can also experiment with everyday objects that relate to your product or its theme. For instance, if you’re photographing handmade soap, you could include a vintage soap dish or a loofah sponge to add context and create a more visually interesting image. The key is to think creatively and use props that enhance the story you want to tell with your product photography.
Creating Unique Props from Everyday Items
Imagine transforming ordinary household objects into extraordinary, eye-catching accessories that’ll elevate your product images to a whole new level of artistry. With a little creativity and resourcefulness, you can create unique props from everyday items that’ll add depth, texture, and visual interest to your product photography.
Here are three ideas to get you started:
- Utilize mirrors: Take an old, worn-out mirror and give it a new lease on life by using it as a prop in your product shots. Place the mirror at different angles to create interesting reflections and play with light. This’ll add a touch of elegance and sophistication to your images, making them stand out from the crowd.
- Repurpose old books: Instead of letting your old books gather dust on the shelf, repurpose them as props for your product photography. Stack them up to create a unique backdrop or use them as a platform to showcase your products. The worn pages and rich colors of the book covers’ll add a vintage and nostalgic feel to your images, creating a sense of charm and character.
- Get creative with fabrics: Raid your closet or visit a thrift store to find interesting fabrics that can be used as props. Flowing silk scarves can add a sense of movement and elegance to your images, while textured fabrics like burlap or lace can add depth and visual interest. Play around with different colors and patterns to find the perfect fabric that complements your products and enhances their visual appeal.
By thinking outside the box and repurposing everyday items, you can create unique props that’ll take your product photography to the next level. Experiment with different objects and materials to discover your own personal style and create images that truly captivate your audience.
Styling Tips for Captivating Product Photography
Elevate your styling game with these mesmerizing tips that’ll make your product photos stand out.
When it comes to product photography, styling is key to capturing the attention of your audience. One tip is to create contrast by pairing your product with complementary colors or textures. For example, if you’re photographing a sleek, modern gadget, consider placing it on a rustic wooden surface or against a vibrant backdrop. This contrast will make your product pop and create visual interest.
Another tip is to use props strategically to enhance the story or message behind your product. Think about the emotions you want to evoke in your audience and choose props that align with that vision. For example, if you’re selling a cozy blanket, you could photograph it with a cup of hot cocoa and a book, creating a warm and inviting scene. Props can add depth and context to your product, making it more relatable and appealing to potential customers.
Incorporating these styling tips into your product photography can take your images from ordinary to extraordinary. Experiment with different colors, textures, and props to create a unique and captivating visual experience for your audience.
Remember, the goal is to not only showcase your product, but also to tell a story and evoke emotions through your photos. With a little creativity and attention to detail, your product photography will leave a lasting impression on your customers.
Editing Tricks to Make Your Product Images Pop
Did you know that using editing tricks can significantly enhance the visual appeal of your product images? Editing is an essential part of the product photography process, as it allows you to make adjustments and improvements to your images before presenting them to your audience.
One editing trick that can make your product images pop is adjusting the brightness and contrast. By increasing the brightness, you can make your images appear more vibrant and eye-catching. Similarly, adjusting the contrast can help add depth and definition to your photos, making the products stand out even more.
Another editing trick that can enhance your product images is using color correction. Sometimes, the colors in your photos may not accurately represent the actual product. By using color correction tools, you can adjust the hues, saturation, and temperature to ensure that the colors in your images are true to life. This can make a significant difference in how your products are perceived by your audience.
Additionally, you can also experiment with different filters and effects to give your images a unique and creative look. These editing tricks can help you create stunning product images that are visually appealing and engaging to your audience.
So, don’t underestimate the power of editing when it comes to making your product images pop!
Frequently Asked Questions
What are some common mistakes to avoid when using different lighting techniques for product photography?
Some common mistakes to avoid when using different lighting techniques for product photography include not properly diffusing the light, using inconsistent lighting sources, and not considering the color temperature of the light.
How can I ensure that the background doesn’t distract from the product in my shots?
To ensure the background doesn’t distract from your product, keep it simple and uncluttered. Use a solid color or a clean, minimalistic backdrop. Also, consider using depth of field to blur the background and draw attention to the product.
Are there any safety precautions I need to take when creating props from everyday items?
When creating props from everyday items, safety precautions are essential. For example, if you are using glass bottles as props, make sure to handle them carefully to avoid any accidents or injuries.
What are some key styling tips to make my product photography stand out?
To make your product photography stand out, focus on creating a visually appealing composition. Use interesting backgrounds, lighting, and angles to highlight the unique features of your product. Experiment with props and colors to add depth and personality to your shots.
Can you recommend any specific editing software or apps to enhance product images?
For enhancing product images, try using Adobe Lightroom or Snapseed. These editing software/apps offer a wide range of tools to adjust lighting, colors, and details, helping you create captivating and professional-looking photos.
Last Updated: January 22, 2024
Disclosure: We may receive affiliate compensation for some of the links in this article at no additional cost to you if you decide to purchase a product. You can read our affiliate disclosure in our privacy policy.
Kevin Fairbanks is your expert navigator in the world of Etsy business. With a passion for creativity and a deep understanding of the e-commerce landscape, Kevin brings a wealth of knowledge to aspiring and established Etsy sellers alike.
As a seasoned entrepreneur and successful owner of multiple Etsy shops, Kevin knows firsthand the challenges and triumphs of the Etsy marketplace. His journey is one of innovation, perseverance, and a keen eye for market trends, making him an invaluable guide for anyone looking to succeed on Etsy.
Kevin’s expertise extends beyond just shop management; he is adept in areas such as SEO optimization, effective marketing strategies, and financial planning for online businesses. His insights are grounded in real-world experience, offering practical and actionable advice.
Join Kevin as he shares his journey and expertise on Etsy Growth Hub. Whether you’re starting your first Etsy shop or looking to expand your existing business, Kevin’s guidance is designed to help you navigate the complexities of Etsy selling with confidence and creativity.
Stay tuned with Kevin’s latest strategies and tips on Etsy Growth Hub to transform your passion into a thriving online business. His dedication to empowering Etsy sellers is evident in every piece of advice he shares, helping you turn your Etsy dreams into reality.
Verified and Approved by:

Kevin Fairbanks
Head of SEO
Like This Article?
Share with your friends
Table of Contents
Latest Articles
Keep Reading
-
Generating Positive Product Reviews
Unlock the Secrets to Generating Positive Product Reviews and Boost Your Sales! Learn how to harness the power of customer feedback today and watch your business thrive. Click here for expert tips and tricks!
-
Harness The Power Of Reviews: Building Trust For Your Etsy Shop
Boost your Etsy shop’s trust and sales with the secrets of powerful product reviews. Discover how to harness the power of Etsy shop product reviews for success today! Click here to learn more.
-
Organize Your Inventory Like A Pro With These Effective Tips
Learn how to organize your inventory like a pro with these effective tips. Stay organized and efficient for better business results. Click now to improve your inventory organization!


